G Internet Router Configuration: A Step-by-Step Guide
Your G internet router is the backbone of your home network, providing access to the internet and securing your network with a built-in firewall. Configuring your G internet router is crucial to ensure optimal performance, security, and connectivity. In this article, we will walk you through a comprehensive guide on how to configure your G internet router, covering various settings and options.
Understanding Your G Internet Router
A G internet router is a device that enables you to share your broadband internet connection with multiple devices. It provides a secure and stable connection, ensuring that you can access the internet from any device connected to your network. Your G internet router has its own settings screens, full of options that you can configure to suit your needs.
Configuring Your G Internet Router
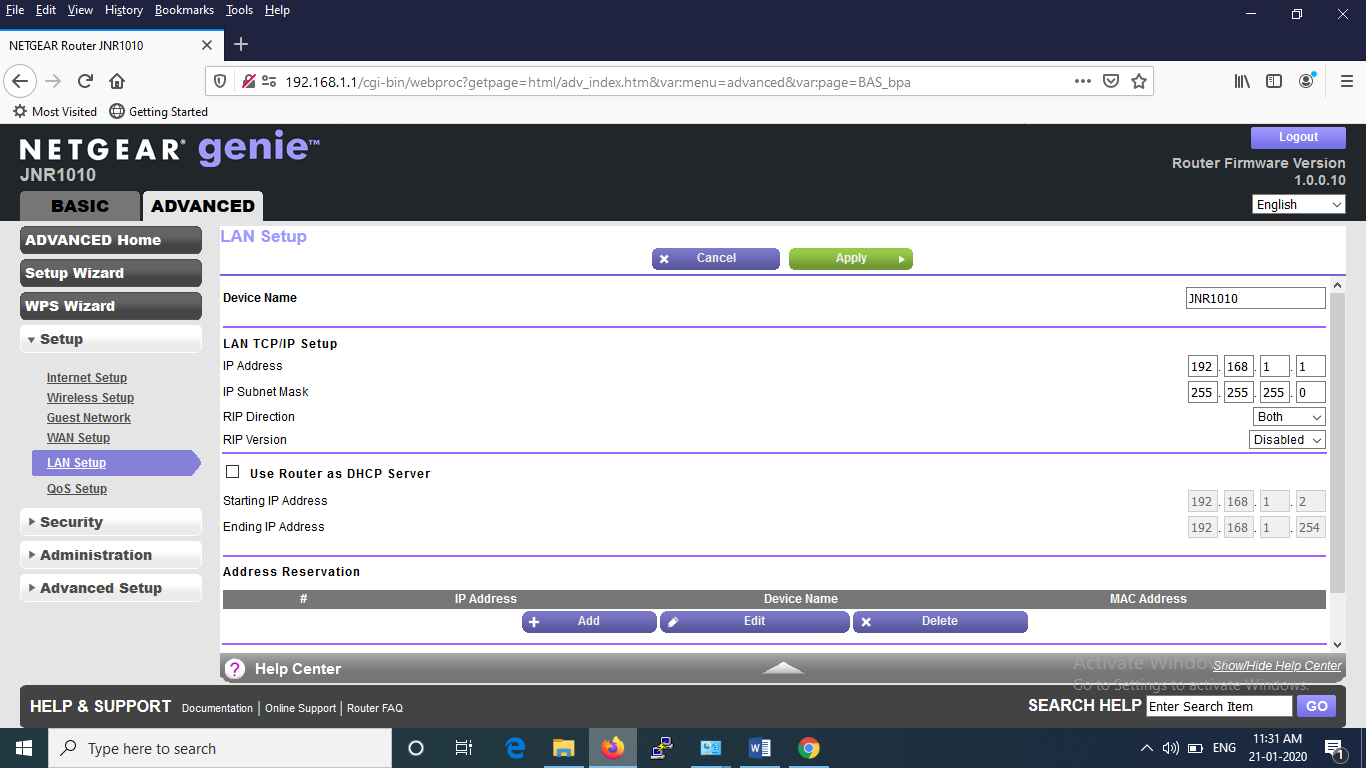
Step 1: Accessing Your Router's Web Interface
The first step in configuring your G internet router is to access its web interface. You can do this by opening a web browser and typing the IP address of your router in the address bar. The most common IP address for routers is 192.168.0.1 or 192.168.1.1. Once you access the web interface, you will be prompted to log in using your admin username and password.


 - HP")
 - LazyAdmin")

 - GL.iNet Router Docs 4")


")


